First up:
A cable-knit baby blanket. I found this pattern at LULUKNITS.

Some modifications that I made as opposed to the pattern she provided is that I used size 10 straight needles and the cable needles that look like safety pins. She used a thin yarn (that is beautiful) but i went with a chunky weight green called "After Dark". Since I went with a heavier yarn I did not pull from 2 balls. I did use 4 balls of yarn totaling about 400 yards. Her pattern created 8 cable patterns but since I used a chunky yarn I went with just 6. The finished blanket was about 24" wide and 36" long.

It definitely isn't perfect. I made a couple of mistakes that always seemed to happen when I was trying to talk and knit at the same time (as I said, I'm not super-skilled!). But, I think the end result was nice and I hope it'll be a nice soft blanket for my nephew who is to be born April 26! And, cable-knitting really wasn't as difficult as what I thought it would be!
Next: The Hallway Bench
This project originated from something I found on Pinterest. I must admit, I had quite an addiction to that site for awhile. Anyway, it led me to this gem of a project. When we moved to this big old farmhouse I decided it would be a good idea to have a hallway bench for the kids to sit on when they come in the door to take their shoes off right away. So I found this beauty on craiglist for $30. I also got lost trying to find the place and it took much longer to get there than it should have.

When I brought it home, I noticed this strange odor coming from the bench... Never a good sign. I wasn't a fan of the pattern on the bench anyway, and when Trent helped me carry the bench into the house the back started to come off.

I was fearless in my ambition regarding this smelly bench. I would reupholster it. Had I ever done that?? Of course not, but with Sabby in Suburbia as my guide, anything is possible right??

I had my trusty helpers sand down the legs once I got off all the disgusting old layers. (Is this child labor??)
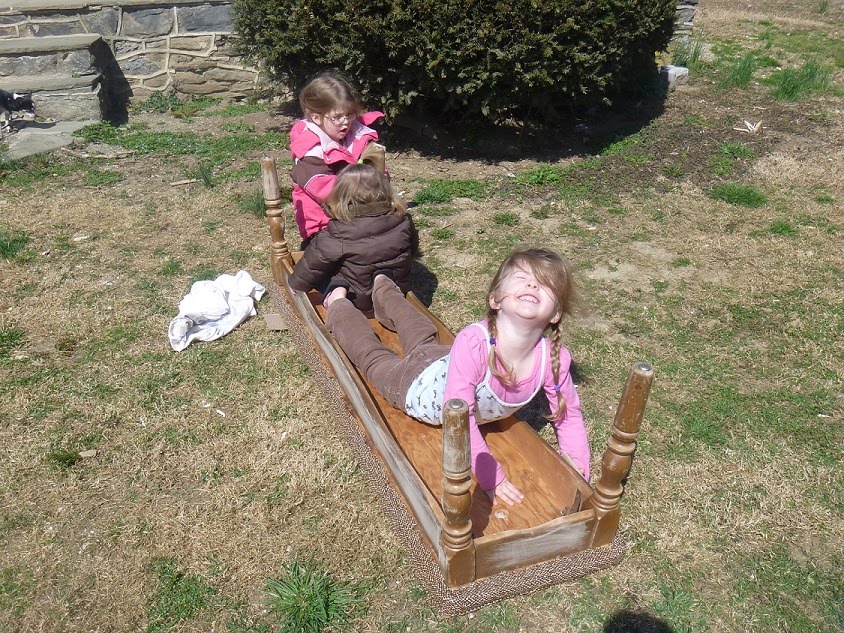

I found the cause of the smell during this process. At some point in its existence the bench must have gotten soaking wet and the foam got moldy and nasty.

As you can see, I painted the legs what I deemed a country green.


Then upholstered it according to Sabby's directions. I chose not to put the back on the bench since I thought it would just hit against and scuff up the wall and make the whole project more difficult.


I also went with 2 inch foam from JoAnn's (50% off) then did the batting, then a lightweight cream colored fabric, and then finally the burlap top. I did the cream fabric below since burlap is see-through. I also chose not to do the button tufting since I thought that seemed like a great way for dirt and crumbs from the kiddos to collect on my pretty bench.

I did this whole thing while the kids napped. It was like running a marathon. If I were to do it again I would take my time with it so that I didn't feel so rushed. But anyway, I think the end result was real pretty and it suits its purpose. (Please note, this is NOT a cheap craft. I'm not positive, but it may be cheaper to just buy a pretty bench. You don't get the same satisfaction of creating your own, but if you're looking for an inexpensive craft, this is not the one for you.)
The signs:
The credit for these is two-fold. First Pinterest - specifically Down to Earth Style gave me the idea of the name sign with the year we were married. But my dear friend Angie has created many lovely signs with old barn boards, often putting Bible verses on them using hand-painted words in the style I used (long and narrow letters). So I borrowed the idea from both sources and I'm very pleased with how they turned out.
One is for me! I used an already painted & chipped board I found in our chicken coop.

Then I cleaned it up. I wanted a country green and only had a bright green, so I put my degree in elementary education to the test. Yellow + Blue = Green.
 and painted our name on it.
I tried to match it to my country green on our bench and the sign now hangs above the bench. Eventually I'd like to get a large photo of our family to hang beneath the sign.
Then I made one as a gift for my sister. I did my sister's second and I do think the writing on her sign turned out prettier. Her house has more of a beach theme, and her board was completely unpainted. I went with a bright white for her background and then a dark blue for the lettering.

The flowers:

There really isn't much to say here. I just thought the combo of the forsythia and whatever these adorable little white flowers that grow on a bush are was lovely. Plunked them in a Mason jar and was done. (But I must say, the girls LOVE having flowers and weeds to pick. Abbey is her ever-diligent self in picking, picking, picking.)
The Key-holder:

I'm not sure who to credit this project to, other than my mom. She always loses her keys when she comes to my house, so I thought it would be appropriate to have somewhere to hang them. I found this piece of wood in the chicken coop and cleaned it up. Then I used some of the leftover spray paint from the bench (Valspar "Leafy Rise"). The star hooks I purchased from Kruenpeeper Creek Country Gifts. Since the wood was much darker than the legs of the bench the green looks a little different, but I like it. I also sanded it lightly to give it a distressed look.
I'll wait for another day to write about Preschool. All I will say for now is that we are having a lot of fun!!
Looks like you've been busy! The blanket is beautiful and the bench looks great! I always like the satisfaction that comes with fixing something up or creating something. Well done!
ReplyDelete