This is not an original idea. I originally saw the pin on Pinterest. (I can't find the original Pin that I used. I think it was somewhere on this site: Your Modern Family .)
I made this last summer and am just now blogging about it. I know, I'm sorry. But it's my life.
Supplies needed: (in no particular order)
1. A picture frame - any old thing will do
2. Paint (if you want to change the color of your frame)
3. Ribbon (to match your paint)
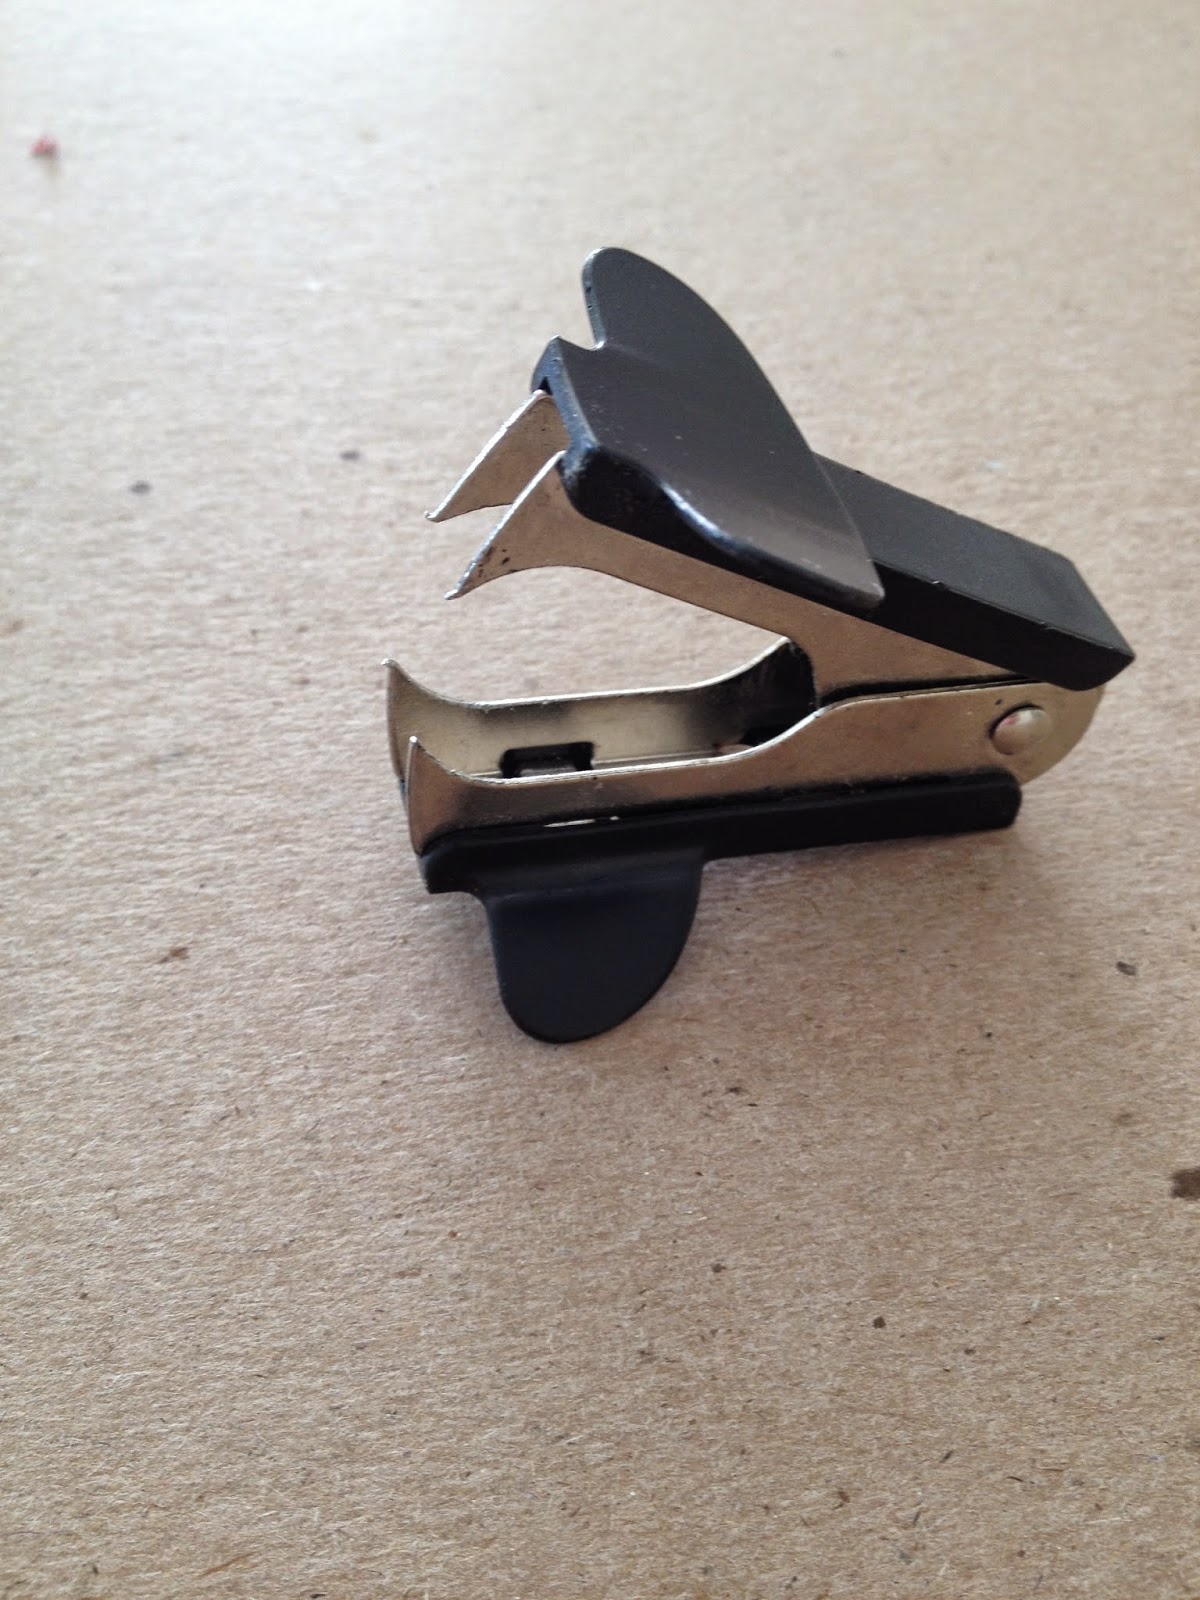
4. Staple remover
5. "C" hooks
6. Hot glue gun
7. Sand paper/ sanding block
8. Drill {optional}
Step 1: Get a frame. I wanted my area for holding hair bows and headbands to be extra large so I purchased one. I found this gold frame at our local Re-Useit shop for around $8. {{I felt a little guilty when I was paying because the cashier noted just how lovely the photo in the frame was... I threw it in the trash.}}


Step 3: Paint your frame. I wanted this to be a kid-friendly activity. It takes MUCH longer for three little girls to paint a simple frame than it does for one adult. But they had a good time doing it.


Step 4: Distress your paint. {Optional} I loved having the gold show through the pink. I just used a little block sander, but any sandpaper will work.
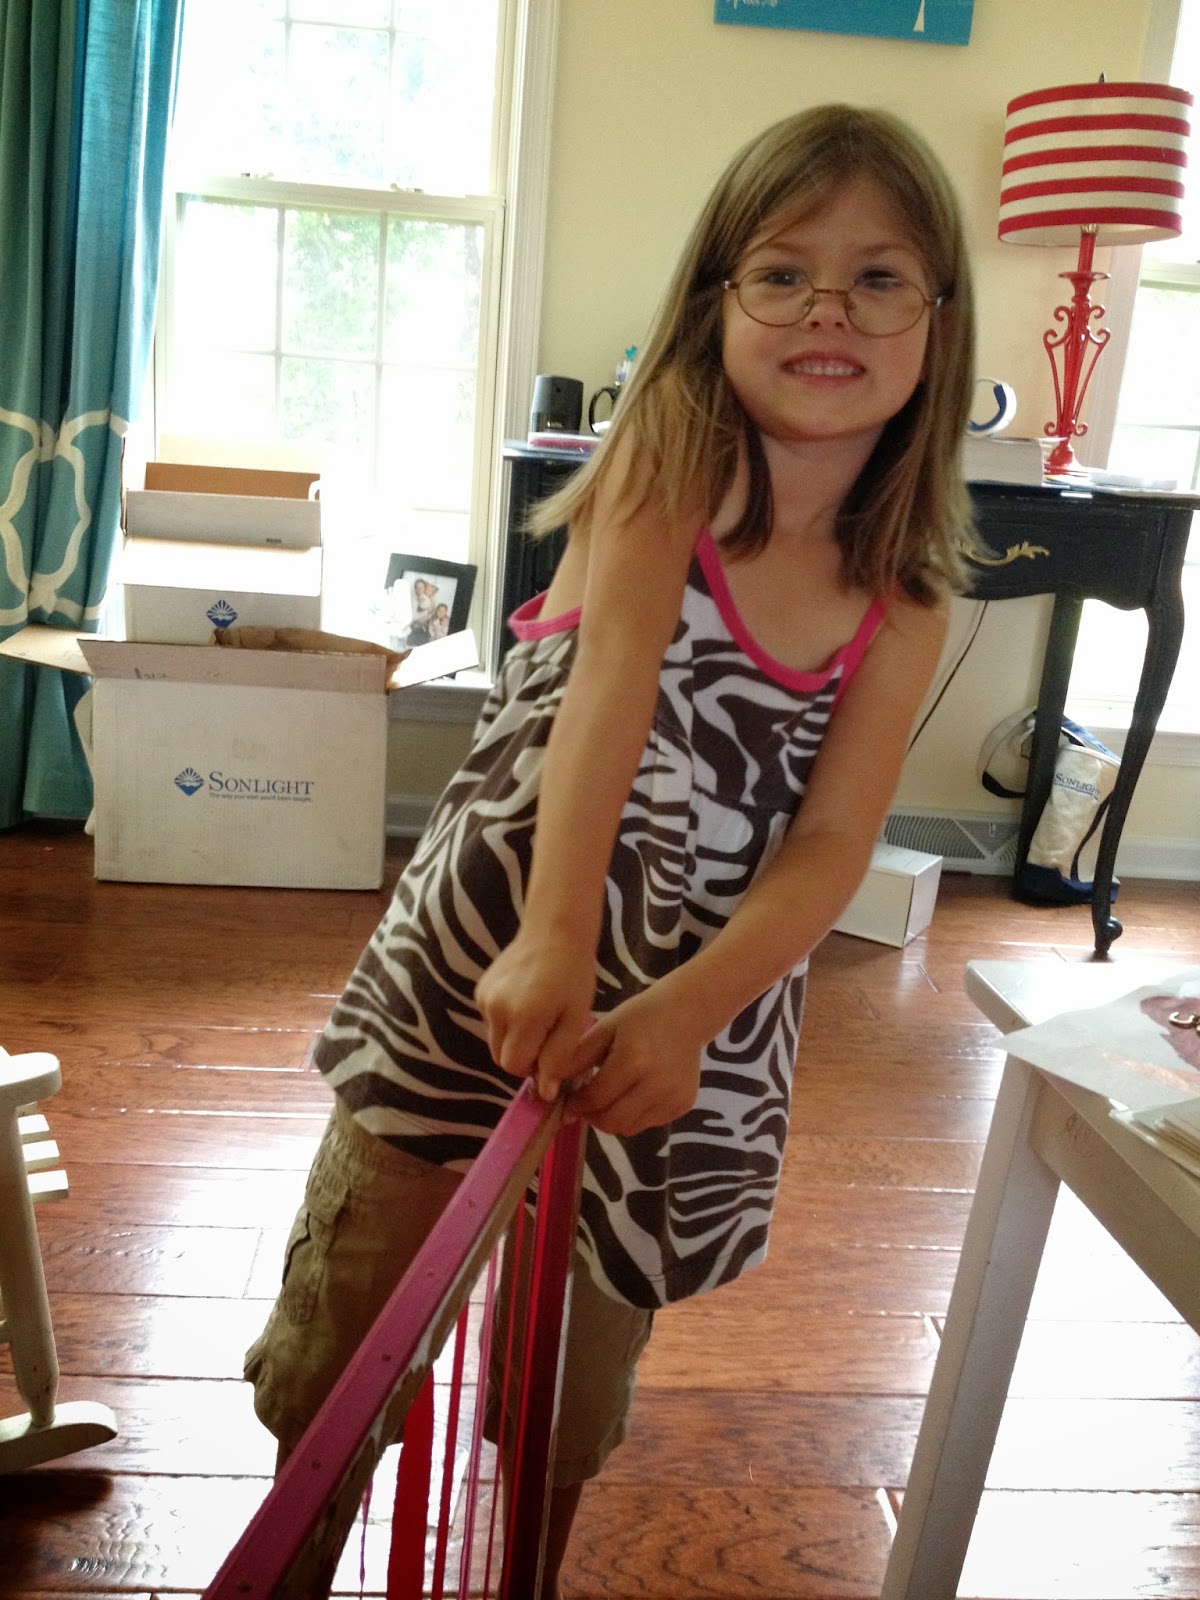
Step 5: Have an impromptu photo shoot with your frame.


 |
| Step 8: Hang it up! |
  |
| Beauties |


 |
| She wasn't happy about this photo shoot. |
**Most of the headbands pictured are from Screaming Owl . They have really cute things at reasonable prices for children, but they take FOREVER to come in the mail. Just a word of warning - don't expect to get your purchase before 4-6 weeks.**
No comments:
Post a Comment