Showing posts with label DIY. Show all posts

Thursday, January 25, 2018

Tea Bar

Since I’m not busy enough (Haha) I like to come up with home projects. The girls and I have been having tea time once or twice a week since school started. We drink tea and I read poetry. It’s been lovely. For Christmas I bought each girl an adorable old-fashioned tea cup so I got into my mind that we needed a tea bar. 

Since I’m no longer painting signs I decided to take that crafting area and change it up. 


This is the space before. 


I started by painting this wall a gray-blue. This was leftover paint so this part of the project didn’t cost me anything. 


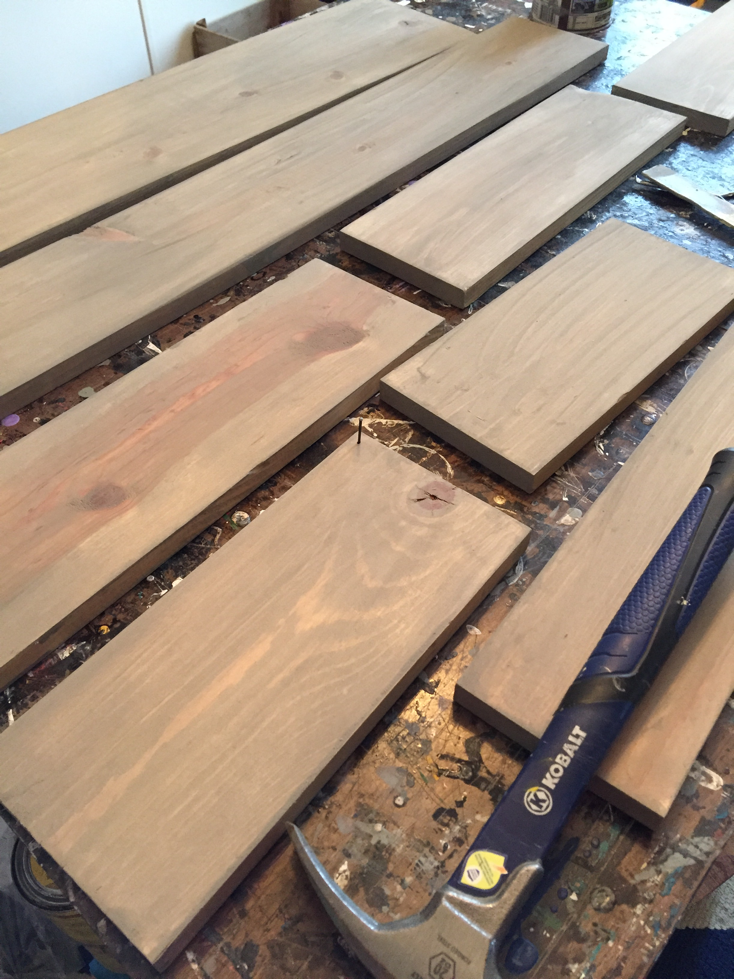
Then I took all these leftover boards from when I was painting signs and stained them in this gray-wash. This part of the project didn’t cost anything as I had the wood, stain, and nails. I had big plans that I would nail this together by myself but realized I’m not strong enough. 


I had to wait a couple extra weeks to get Trent to do it for me. I know he would have rather done other things on his Saturday but this is how well my man loves me. 


All done! The only cost to the project were the extra large C hooks that I purchased from Amazon. Trent finished the shelf and hung it up for me while I was away with a group of women for the weekend. Isn’t he awesome?


Oh, and the glass apothecary jars I bought on Amazon as well. One has hot cocoa mix that we made, the middle one I plan to make some more homemade marshmallows to put in, and the third has Andes mints right now. 


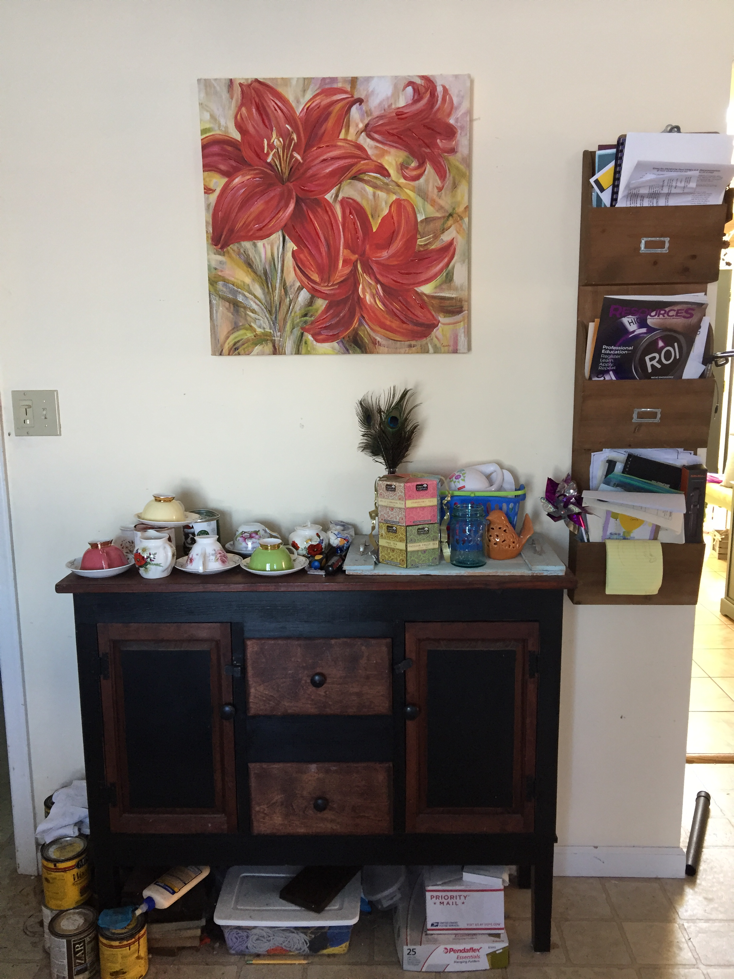
I’m really pleased with how this project transformed this space. Eventually I would like to replace the primitive style server with something in a country white. I’ll likely add some art above the shelf at some point and possibly add coffee bar items to the tea. 


Hope you enjoyed my most recent project!

Wednesday, May 3, 2017

Front Porch Make-Over

If you guys know anything about me by now it's that I like to keep busy and I love painting all the things.

Over the winter I started noticing that our front door was looking rather sad and faded.

Doesn't it look sad?
Obviously it needed a fresh coat of paint. Hunter green isn't my favorite color to begin with, and faded hunter green is worse. Also the paint on the trim was chipping and just looking in need of a little pick me up.

Before

Early this Spring I was at Lowe's shopping for some screws (aren't you jealous of my exciting life?). While there I thought I'd just pop over to the paint section to see what I could see. And what did my eyes see? Bright Red.

Typically when I redo something I spend a lot of time on Pinterest poring over ideas. I had mentioned to my BFF the desire to paint the door. Like all good BFFs, she sent me some ideas, then casually mentioned, what about red? So, while the girls and I were in Lowe's we went for it!

It took about one quart of exterior paint to do the door. Red always requires several coats and this project was no exception. It took four coats of paint before it was a solid red.

The past few years I have hung ferns on my porch and I love how they look. Unfortunately, so do the birds. If I don't pull their nests out soon enough they end up laying eggs in the ferns and then I feel bad dousing baby birds with water to keep my plants alive.

I wanted to try putting ferns in pots instead of hanging them to see if it makes a difference. The ferns have been in the pots for a couple weeks now and not a single bird has tried to nest in them. (Tall pots from Joss & Main // Ferns from Cinder Road Greenhouse)

After
Someone on Facebook told me that birds don't like Eucalyptus (thanks Paulette). I happened to have some already in the house so I hung it on the door instead of a wreath. I don't know if it's the Eucalyptus that has kept the birds away or not, but either way I'm pretty pleased with the outcome.

I painted all the porch posts and trim in Bright White exterior paint that we already had in the garage. It took about a full gallon to do two coats.

Still need to repaint the rockers
Considering I paint words for a living one would think I would have painted the word "Welcome" on the door myself. Alas, I also know that if/when I want to repaint the door, that word would be two coats higher than the rest of the paint and I would end up sanding it down (which is my least favorite part of painting). So, I went on Etsy (of course) and found a high quality vinyl from a reputable seller. I'm very happy with the result. It was a great price ($10) from Fairy Dust Decals. There are so many great product in her shop!

Before
After

Before
AFTER  


I would still like to make a few changes to the front of the house. I want to either repaint the shutters (black) or replace them with new, black shutters. (I'm not afraid of heights but am rather on the short side so standing on a ladder attempting to paint the second story shutters may not be the best idea.)

I need to give the rockers a fresh coat of white paint. I also want to add a bright red garden stool between the rocking chairs so I can set my coffee on it while I'm rocking, reading, and watching my babies.

I hope you all have enjoyed this front porch make over!
Tuesday, March 24, 2015

DIY - headband/barrette holder

Friends, I have daughters. You know, four of them... I don't know about your girls, but mine love accessories. And when we had baby girl number four - I figured we needed to do something about all these adorable headbands and clips that were EVERYWHERE! They needed a place to call home.

This is not an original idea. I originally saw the pin on Pinterest. (I can't find the original Pin that I used. I think it was somewhere on this site: Your Modern Family .)

I made this last summer and am just now blogging about it. I know, I'm sorry. But it's my life.

Supplies needed: (in no particular order)
1. A picture frame - any old thing will do
2. Paint (if you want to change the color of your frame)
3. Ribbon (to match your paint)
4. Staple remover
5. "C" hooks
6. Hot glue gun
7. Sand paper/ sanding block
8. Drill {optional}

Step 1: Get a frame. I wanted my area for holding hair bows and headbands to be extra large so I purchased one. I found this gold frame at our local Re-Useit shop for around $8. {{I felt a little guilty when I was paying because the cashier noted just how lovely the photo in the frame was... I threw it in the trash.}}

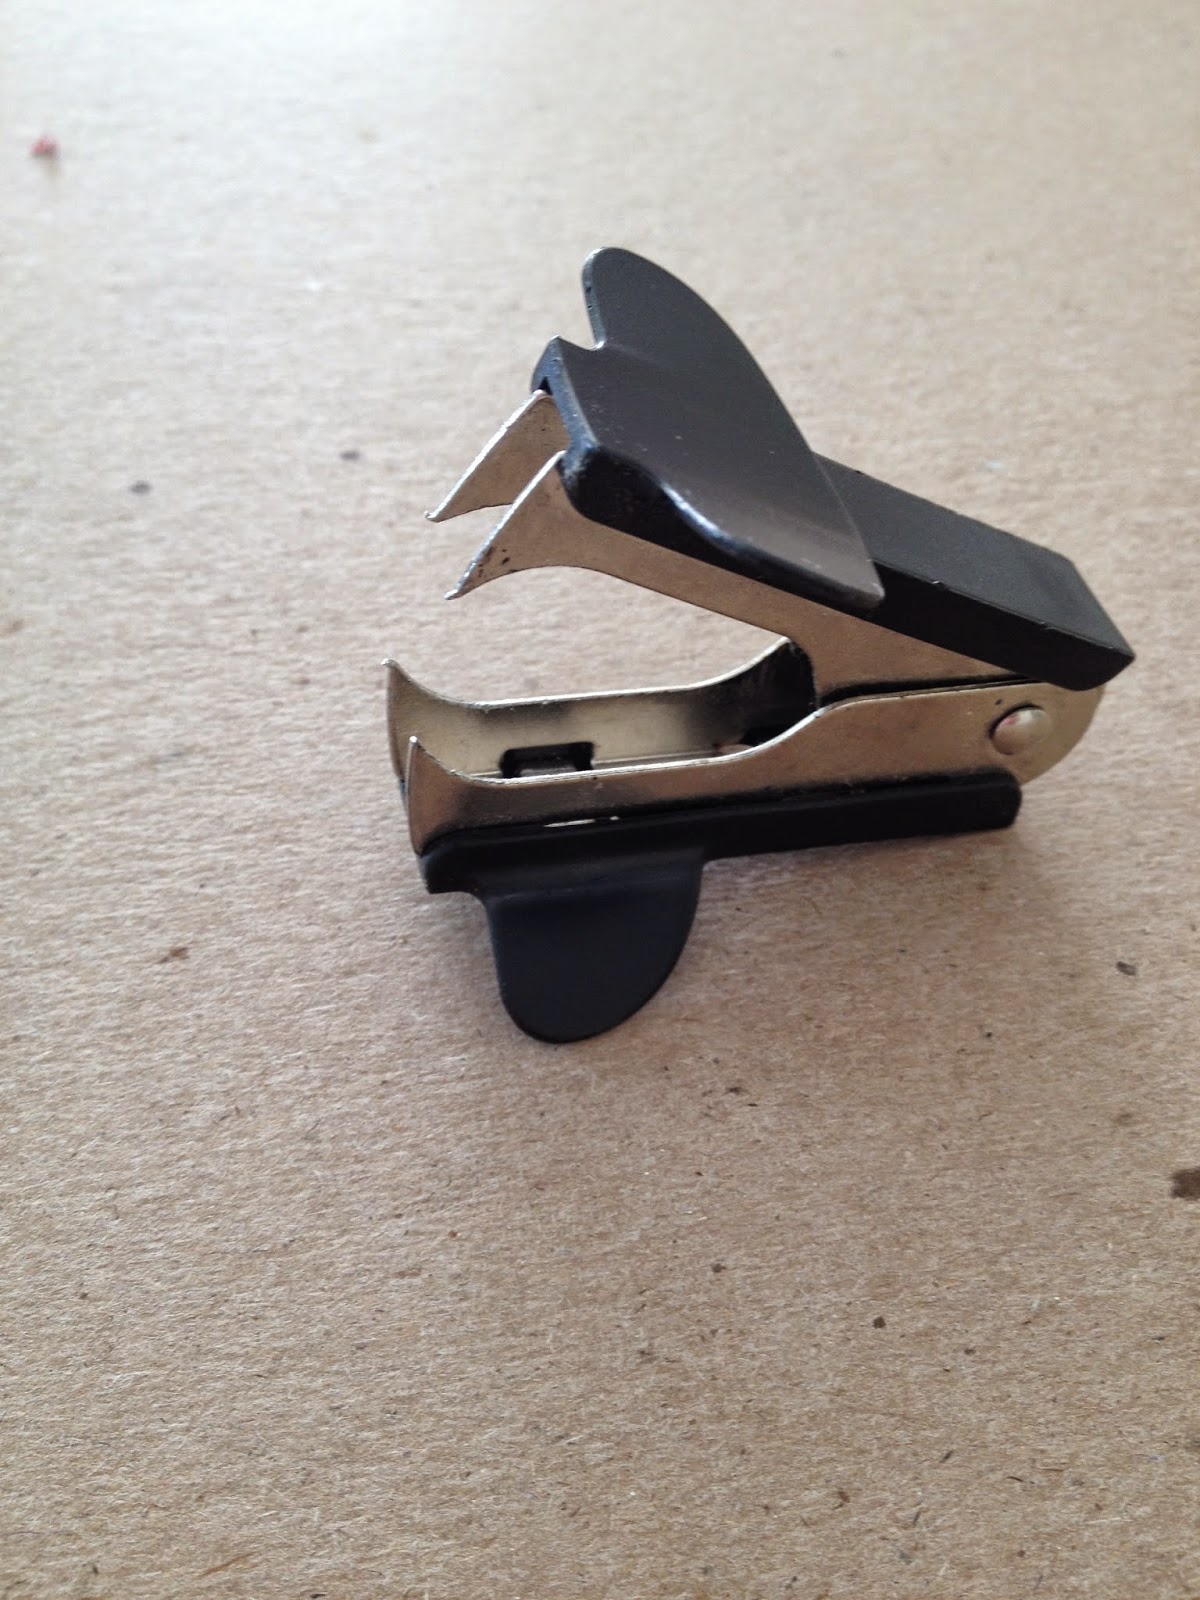
 Step 2: Remove the backing from your frame. I found my staple remover to be very helpful in this process, though a needle nose pliers would work just as well if not better.


Step 3: Paint your frame. I wanted this to be a kid-friendly activity. It takes MUCH longer for three little girls to paint a simple frame than it does for one adult. But they had a good time doing it.
Step 4: Distress your paint. {Optional} I loved having the gold show through the pink. I just used a little block sander, but any sandpaper will work. 
Step 5: Have an impromptu photo shoot with your frame.


 Step 6: Add your ribbon. I just took one piece of ribbon lengthwise as my measurement for the rest of the ribbon. I hot glued each end of the ribbon to the back/inside of the frame so the ends wouldn't show.
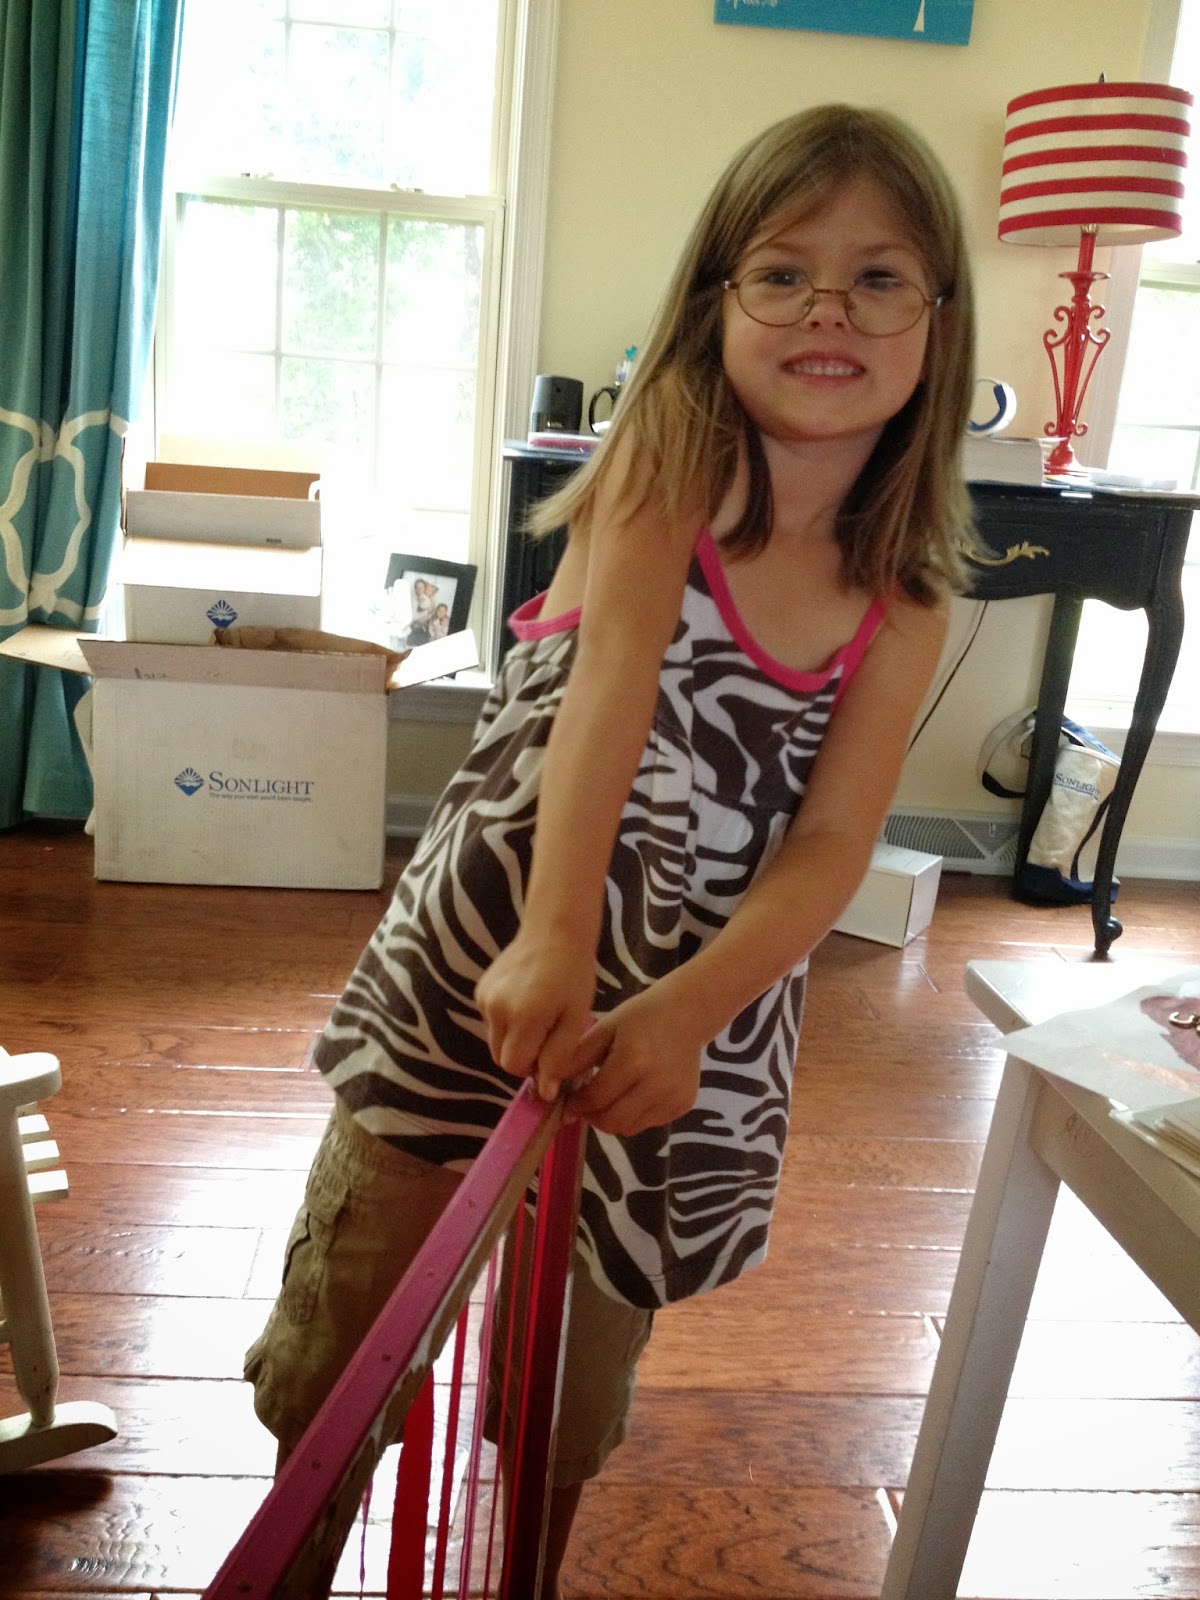
 Step 7: I wanted my C hooks about every inch, so that I could have approximately 12 hooks along the bottom. From previous experience with twisting C-hooks I knew it would be a lot easier if I pre-drilled the holes. So, I did that really quickly, just takes a minute. Then my adorable helper screwed in several of these hooks. It was easy enough that a tiny five-year-old could do it.


Step 8: Hang it up!
Beauties


She wasn't happy about this photo shoot.

 There you have it, friends. A relatively simple and fun headband/barrette/clip holder. As you can see - last summer was the summer of headbands for Miss Caroline. Her hair has grown quite a bit since these photos were taken so she wears little fountain ponytails now. When she wants to wear a headband I know right where to find them. I love having a space dedicated to her hair accessories. I hung it in Caroline's room so as I walk out the door I can easily slip one off the hook and put it on her as we are leaving the house.

**Most of the headbands pictured are from Screaming Owl  . They have really cute things at reasonable prices for children, but they take FOREVER to come in the mail. Just a word of warning - don't expect to get your purchase before 4-6 weeks.**